
Start with useful kitchen basics and let the loaf lead the shopping
Our California trip, including San Francisco, has given us plenty of inspiration for bringing sourdough into the kitchen back home. Before the first loaf, though, comes a surprisingly easy trap: buying enough specialist equipment to open a small bakery.
To bring a little of that inspiration home, we’ve recently received the San Francisco sourdough starter from Dough Dough at Home. It is the starting point for our own sourdough baking plans, and a useful reason to work out which equipment we actually need before filling the kitchen with extras.
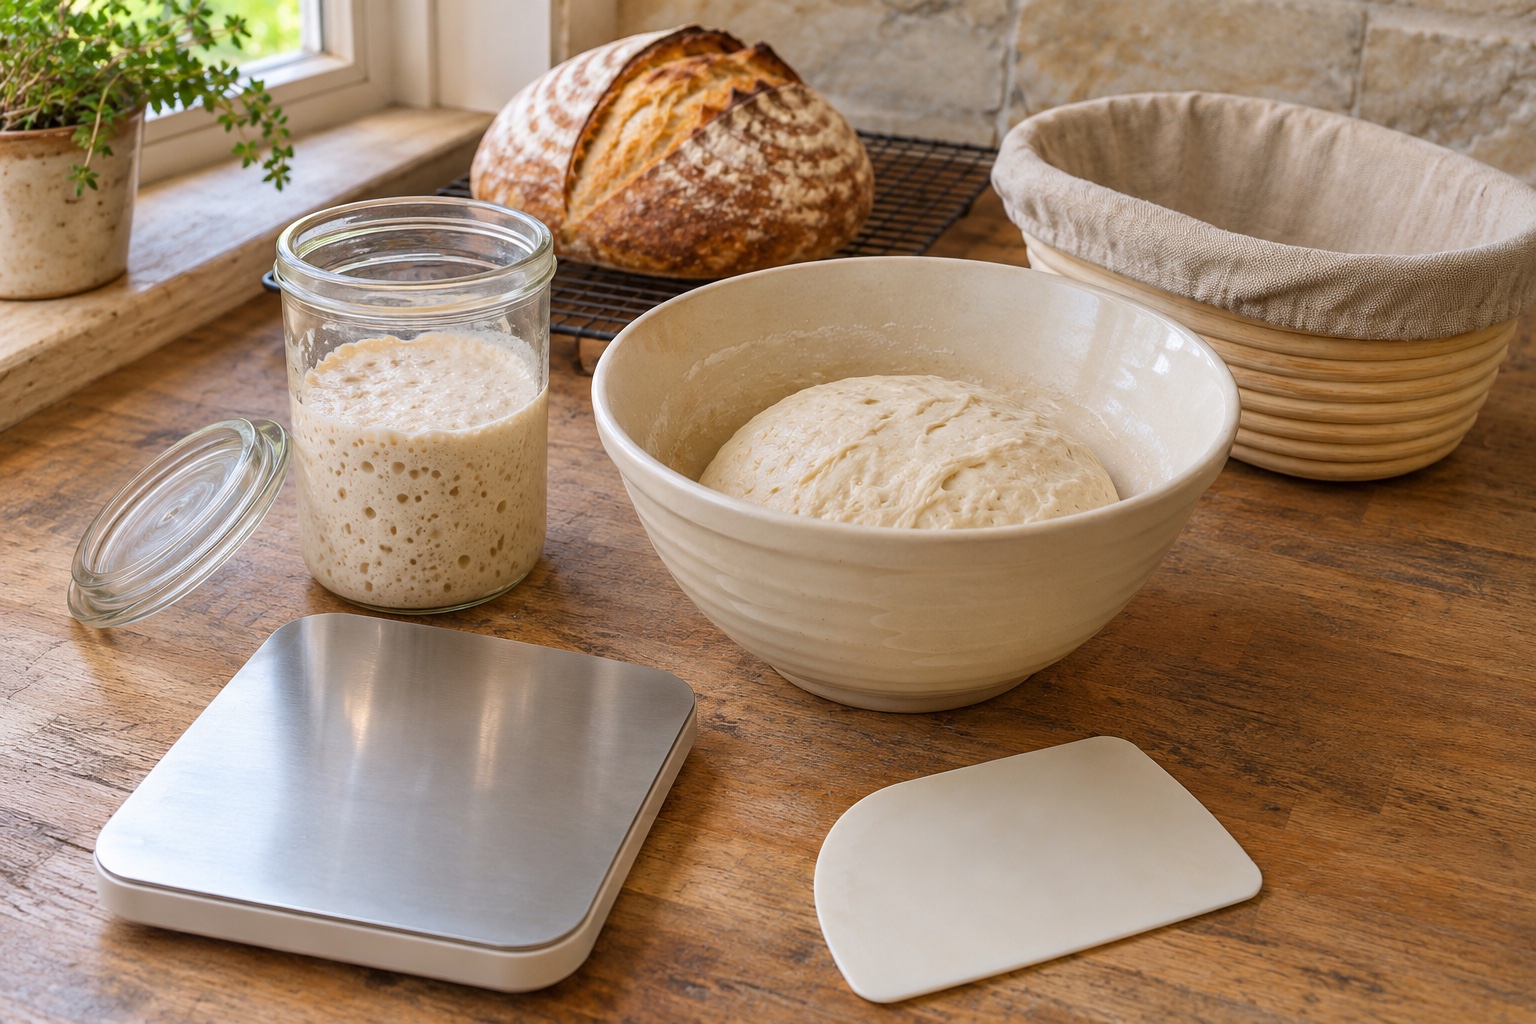
The most useful sourdough equipment for beginners is a much shorter list. You need a way to weigh ingredients, keep a starter, mix and cover dough, support its final shape and bake it using a suitable recipe and vessel. Much of that may already be in your kitchen.
This guide separates the essentials from useful upgrades. The shopping examples are selected by function and published specifications; they are not presented as winners from a side-by-side product test. Start with one reliable method and add equipment when it solves a problem you have actually encountered.
Your beginner sourdough equipment checklist
| Job | Start with | Possible upgrade |
|---|---|---|
| Weighing | Digital kitchen scale reading in grams | A clearer display or longer auto-off time |
| Keeping a starter | Clean food-safe container with room to rise and a loose-fitting lid | A straight-sided marked jar |
| Mixing and resting | A roomy bowl, spoon and suitable cover | A dough whisk or transparent dough tub |
| Handling dough | Hands and a suitable spatula | A flexible bowl scraper and bench scraper |
| Final proof | A bowl lined with a clean, well-floured cloth | A banneton matched to the recipe |
| Baking | The oven-safe vessel or tin required by your chosen recipe | A suitable lidded bread baker |
1. A digital scale: the first thing to check
A scale makes a recipe easier to repeat because flour and water are measured by weight. Before buying another, see whether your existing scale reads in grams, can hold the weight of your bowl plus ingredients, and has a display you can read with that bowl in place.
The tare function lets you return the display to zero between additions. A generous weighing platform and an auto-off time that suits a slow beginner are practical advantages. A scale that switches off halfway through adding water can turn a calm mixing session into a mental arithmetic exercise.
Choose for those everyday features before paying for specialist branding. You will also use the same scale for cakes, pastry and our award-winning Yorkshire pudding recipe.
2. A starter jar with enough headroom
A clean, food-safe container is more important than a decorative crock. Clear sides make it easier to see activity; straight sides help you compare the level before and after feeding. Leave enough room for the starter to expand, following the feeding method you are using.
Use a loose-fitting lid rather than sealing an actively fermenting starter into an airtight jar. King Arthur Baking’s starter storage guidance explains the value of a lidded container with room for growth and gas to escape. A wide opening also makes stirring and cleaning less awkward.
A removable band around the outside can mark the starting level. Keep a simple note of feeding time and room temperature alongside it. A jar with complicated markings is no substitute for watching how your own starter behaves.
3. A bowl, a cover and something to mix with
Use a bowl large enough to mix without flour escaping over the rim, with room for the dough to expand during its first fermentation. It should be stable on the worktop and easy to clean. A suitable food-safe cover helps stop the surface drying out.
A sturdy spoon or spatula can get you started. A dough whisk is an optional convenience, not a condition of admission. Likewise, a transparent dough tub can make changes in volume easier to judge, but you do not have to buy one before mixing a first batch.
Browse baking bowls, tools and accessories at Harts of Stur. Compare dimensions and care instructions, and buy only the item missing from your existing setup.
4. Scrapers: small tools with a clear purpose
A flexible scraper helps gather sticky dough from the curve of a bowl. A firmer bench scraper helps divide dough and lift it from the worktop. They perform different jobs, so a large kit containing several similar shapes is not automatically better value.
Consider the surface you will use it on. Choose an edge that will not damage the worktop, and follow the tool manufacturer’s care advice. Comfortable grip, a useful size and easy cleaning matter more than whether a scraper looks professional in a photograph.
Keep flour additions controlled while shaping. Adding more every time dough feels sticky changes the dough as well as the work surface; technique and the recipe’s hydration matter alongside equipment.
5. Do you need a banneton straight away?
A banneton supports shaped dough during its final proof. A bowl lined with a clean, well-floured cloth can provide an inexpensive starting alternative, provided its shape and size suit the loaf. Baking supplier King Arthur’s artisan baking equipment list includes both baskets and large bowls for proofing.
If you decide to buy a basket, match it to the recipe and baking vessel. An oval basket shapes a different loaf from a round one, and a basket much larger than your dough will not magically create a larger loaf.
One example is the Birkmann Bread Buddies Oval Proofing Basket with Liner at Borough Kitchen. The retailer lists natural cane, a cotton liner, dimensions of 30 × 14 × 6.5cm and capacity for breads up to 1,000g. It is a specific example of the oval format, rather than a universal size recommendation.
View the Birkmann oval proofing basket and liner at Borough Kitchen. Check the current price, delivery charge and fit for your recipe before ordering. Follow its care instructions and allow the basket to dry thoroughly before storage. A proofing basket is not the vessel you bake the loaf in.
6. Choose the baking method before the bread pot
A lidded bread baker or suitable Dutch oven is one way to bake a free-standing loaf, but it is not the only route into sourdough. A recipe designed for a loaf tin offers a different shape and equipment requirement. Choose the method first, then check what it needs.
If using a lidded pot, check the oven rating of the whole item, including the lid and knob. Follow its instructions on preheating and loading. Make sure it fits your oven and that you can lift it safely when hot. Heavy cookware is less appealing when there is nowhere secure to put the lid.
A dedicated bread pot can wait until you know you enjoy the process and understand the size of loaf you want to make. Do not assume that every casserole dish is suitable for the temperature or preheating method in a bread recipe.
What can you leave off the first shopping list?
A stand mixer, electric proofing box, elaborate scoring set and dedicated starter warmer are optional purchases. They may suit a particular baker or kitchen, but each adds cost and storage before you know which part of the process needs help.
A thermometer can be useful for understanding a cool kitchen. A scoring tool can help when the chosen method calls for it, but sharp blades need careful handling and secure storage. Treat those as purposeful tools, not decorations that prove you are taking bread seriously.
For a balanced overview of useful tools, King Arthur’s sourdough equipment guide is a helpful starting reference. Spend time learning one method before changing several variables at once.
Is a sourdough starter kit worth buying?
It can be convenient if you are starting with an empty cupboard, but compare each component with what you already own. Check whether the kit actually contains a live or dried starter, or simply the equipment for maintaining one. Those are different purchases.
Look at the jar capacity, basket dimensions and the usefulness of the included tools. A kit can be poor value if it duplicates a good scale and bowl while supplying a basket that does not fit your baking vessel. A short, compatible list is more useful than a large number of pieces.
A sensible first-bake setup
Put the scale, starter container, bowl, cover and chosen baking vessel on the worktop. Read the whole recipe before feeding the starter or mixing the dough. Check when the long rests fall, whether the shaped loaf needs fridge space, and where you will cool it.
Then keep a record: flour, quantities, timings, room conditions and what happened. That notebook will tell you more about the next purchase than a basket full of accessories. Bring home the San Francisco inspiration, start with the basics, and leave room in the cupboard for the bread.
Gifted product: Dough Dough at Home supplied the sourdough starter free of charge, with no obligation to post.
Affiliate disclosure: This article contains affiliate links to Harts of Stur and Borough Kitchen. If you buy through these links, Yorkshire Pudd may earn a commission at no extra cost to you.