Wine Cellar Elegance: A Guide to Crafting Your Sanctuary for Liquid Art
You love wine and have quite the collection growing. Displaying these bottles haphazardly or randomly around your home is getting out of hand, though. They may have started as decorative accents, but your expanding wine collection now demands a more organized and purposeful presentation.
It’s time to create a proper storage space – your very own wine cellar. Designing it may seem complicated, but breaking the process down into a few key steps will make it much more manageable. Here are they:
1. Finding A Location
When deciding where to build your wine cellar, there are two equally important factors to consider: environment and access. You’ll want a space that’s free from vibration, has little traffic, maintains a cool temperature between 55-60°F, and has low lighting. Humidity should be around 50% to 70% to keep corks moist. If temperature and lighting vary too much, it can ruin your valuable bottles.
An unused basement room or subgrade space works wonderfully, especially if on the north side of your home, away from direct sun exposure. Just make sure it’s free from leaks, floods, and pests! You’ll also want it to be easily accessible, so admiring and sharing your collection is convenient.
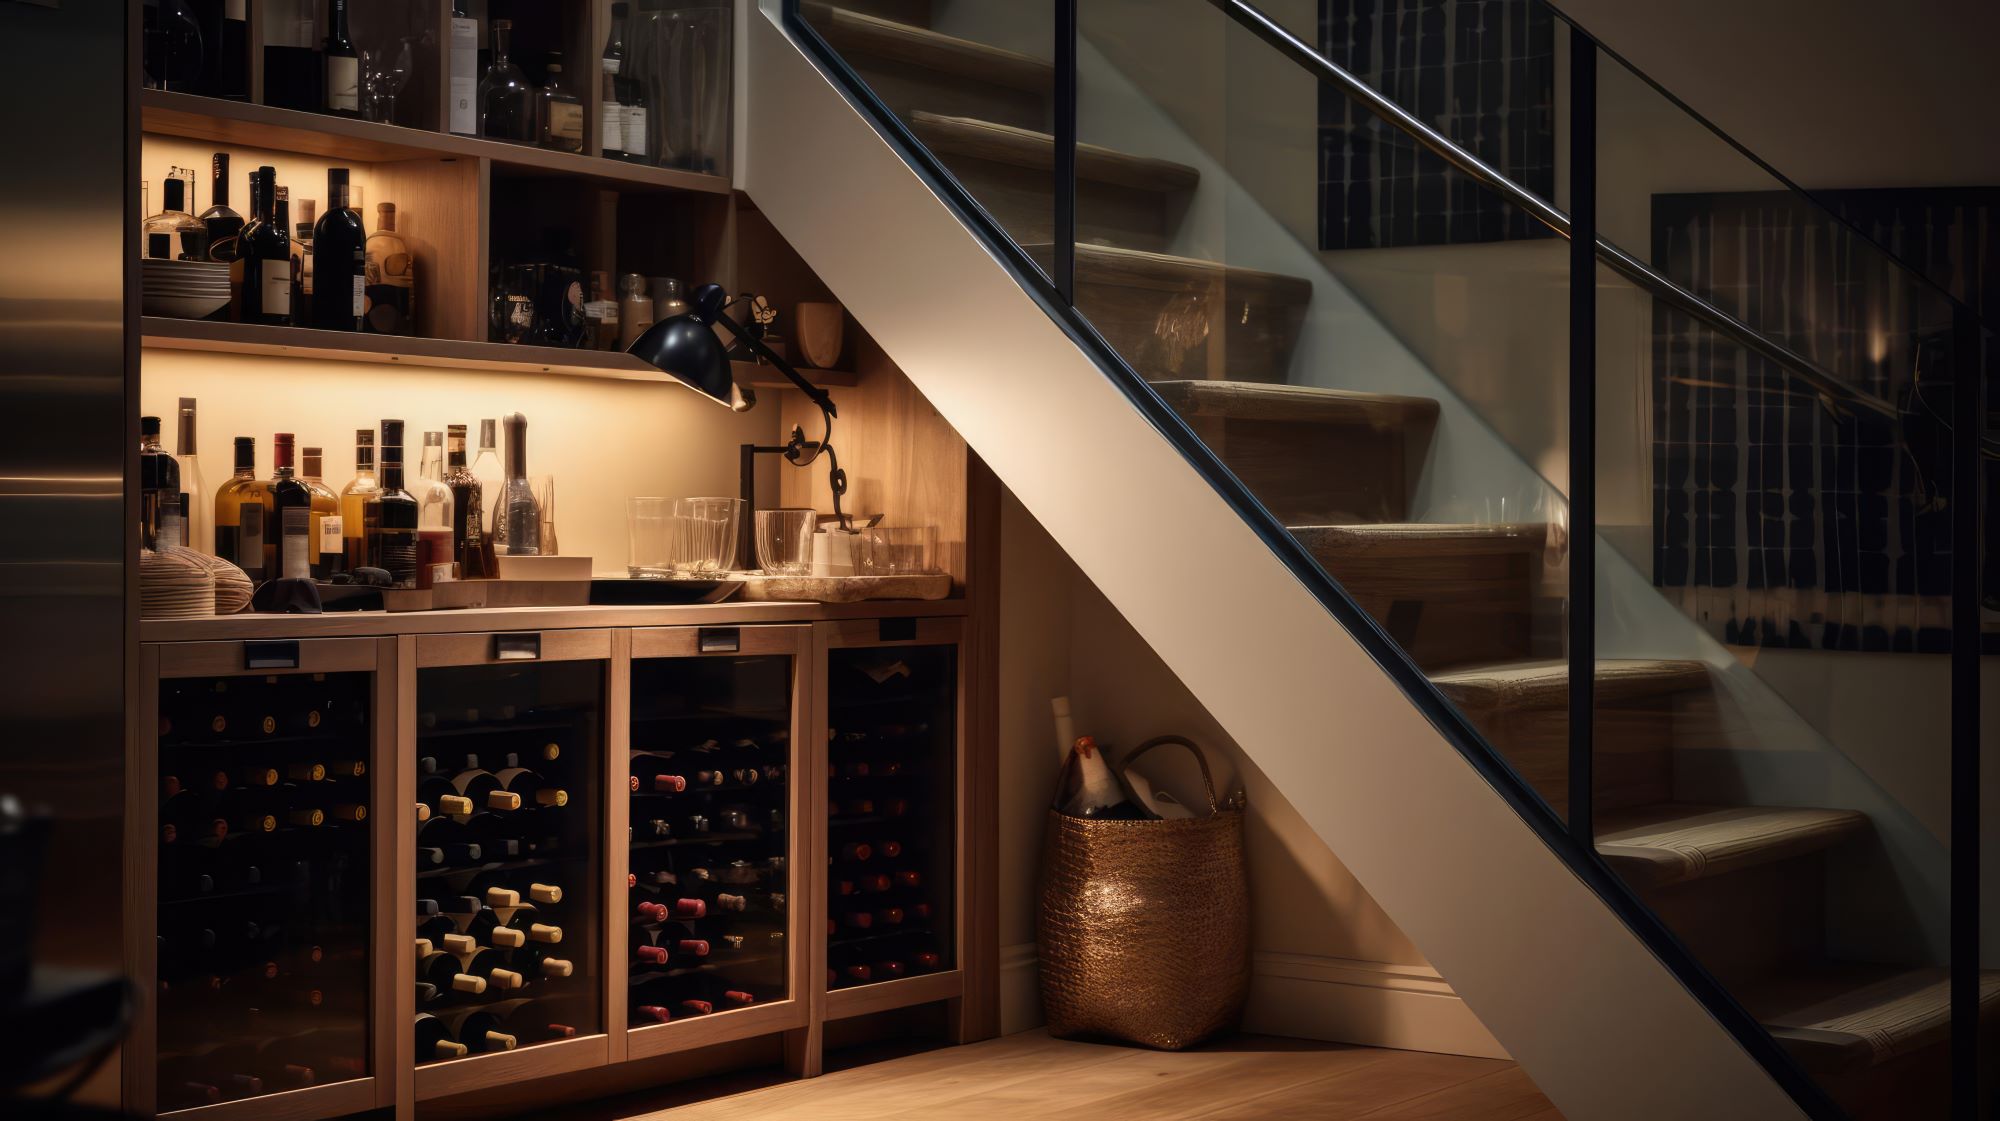
2. Determining Size And Layout
Now that you’ve selected a spot, it’s time to determine the footprint. Take detailed measurements and sketch your floor plan, mapping exits, support beams, electrical outlets, ventilation, and any other structural nuances. How many bottles do you currently have? How many do you foresee acquiring over the next 5-10 years?
Consider extra space for tastings, furniture, and decor too. Using your tally of existing and future bottles, allot approximately 12” width x 14” depth per 750ml bottle of wine for slots; magnums, larger formats, and gift boxes require more real estate. Map fixture and furniture placement allow ample wall space for racking installation.
An efficient layout keeps everyday drinking bottles within arm’s reach while showpiece vintages can dazzle on higher display.
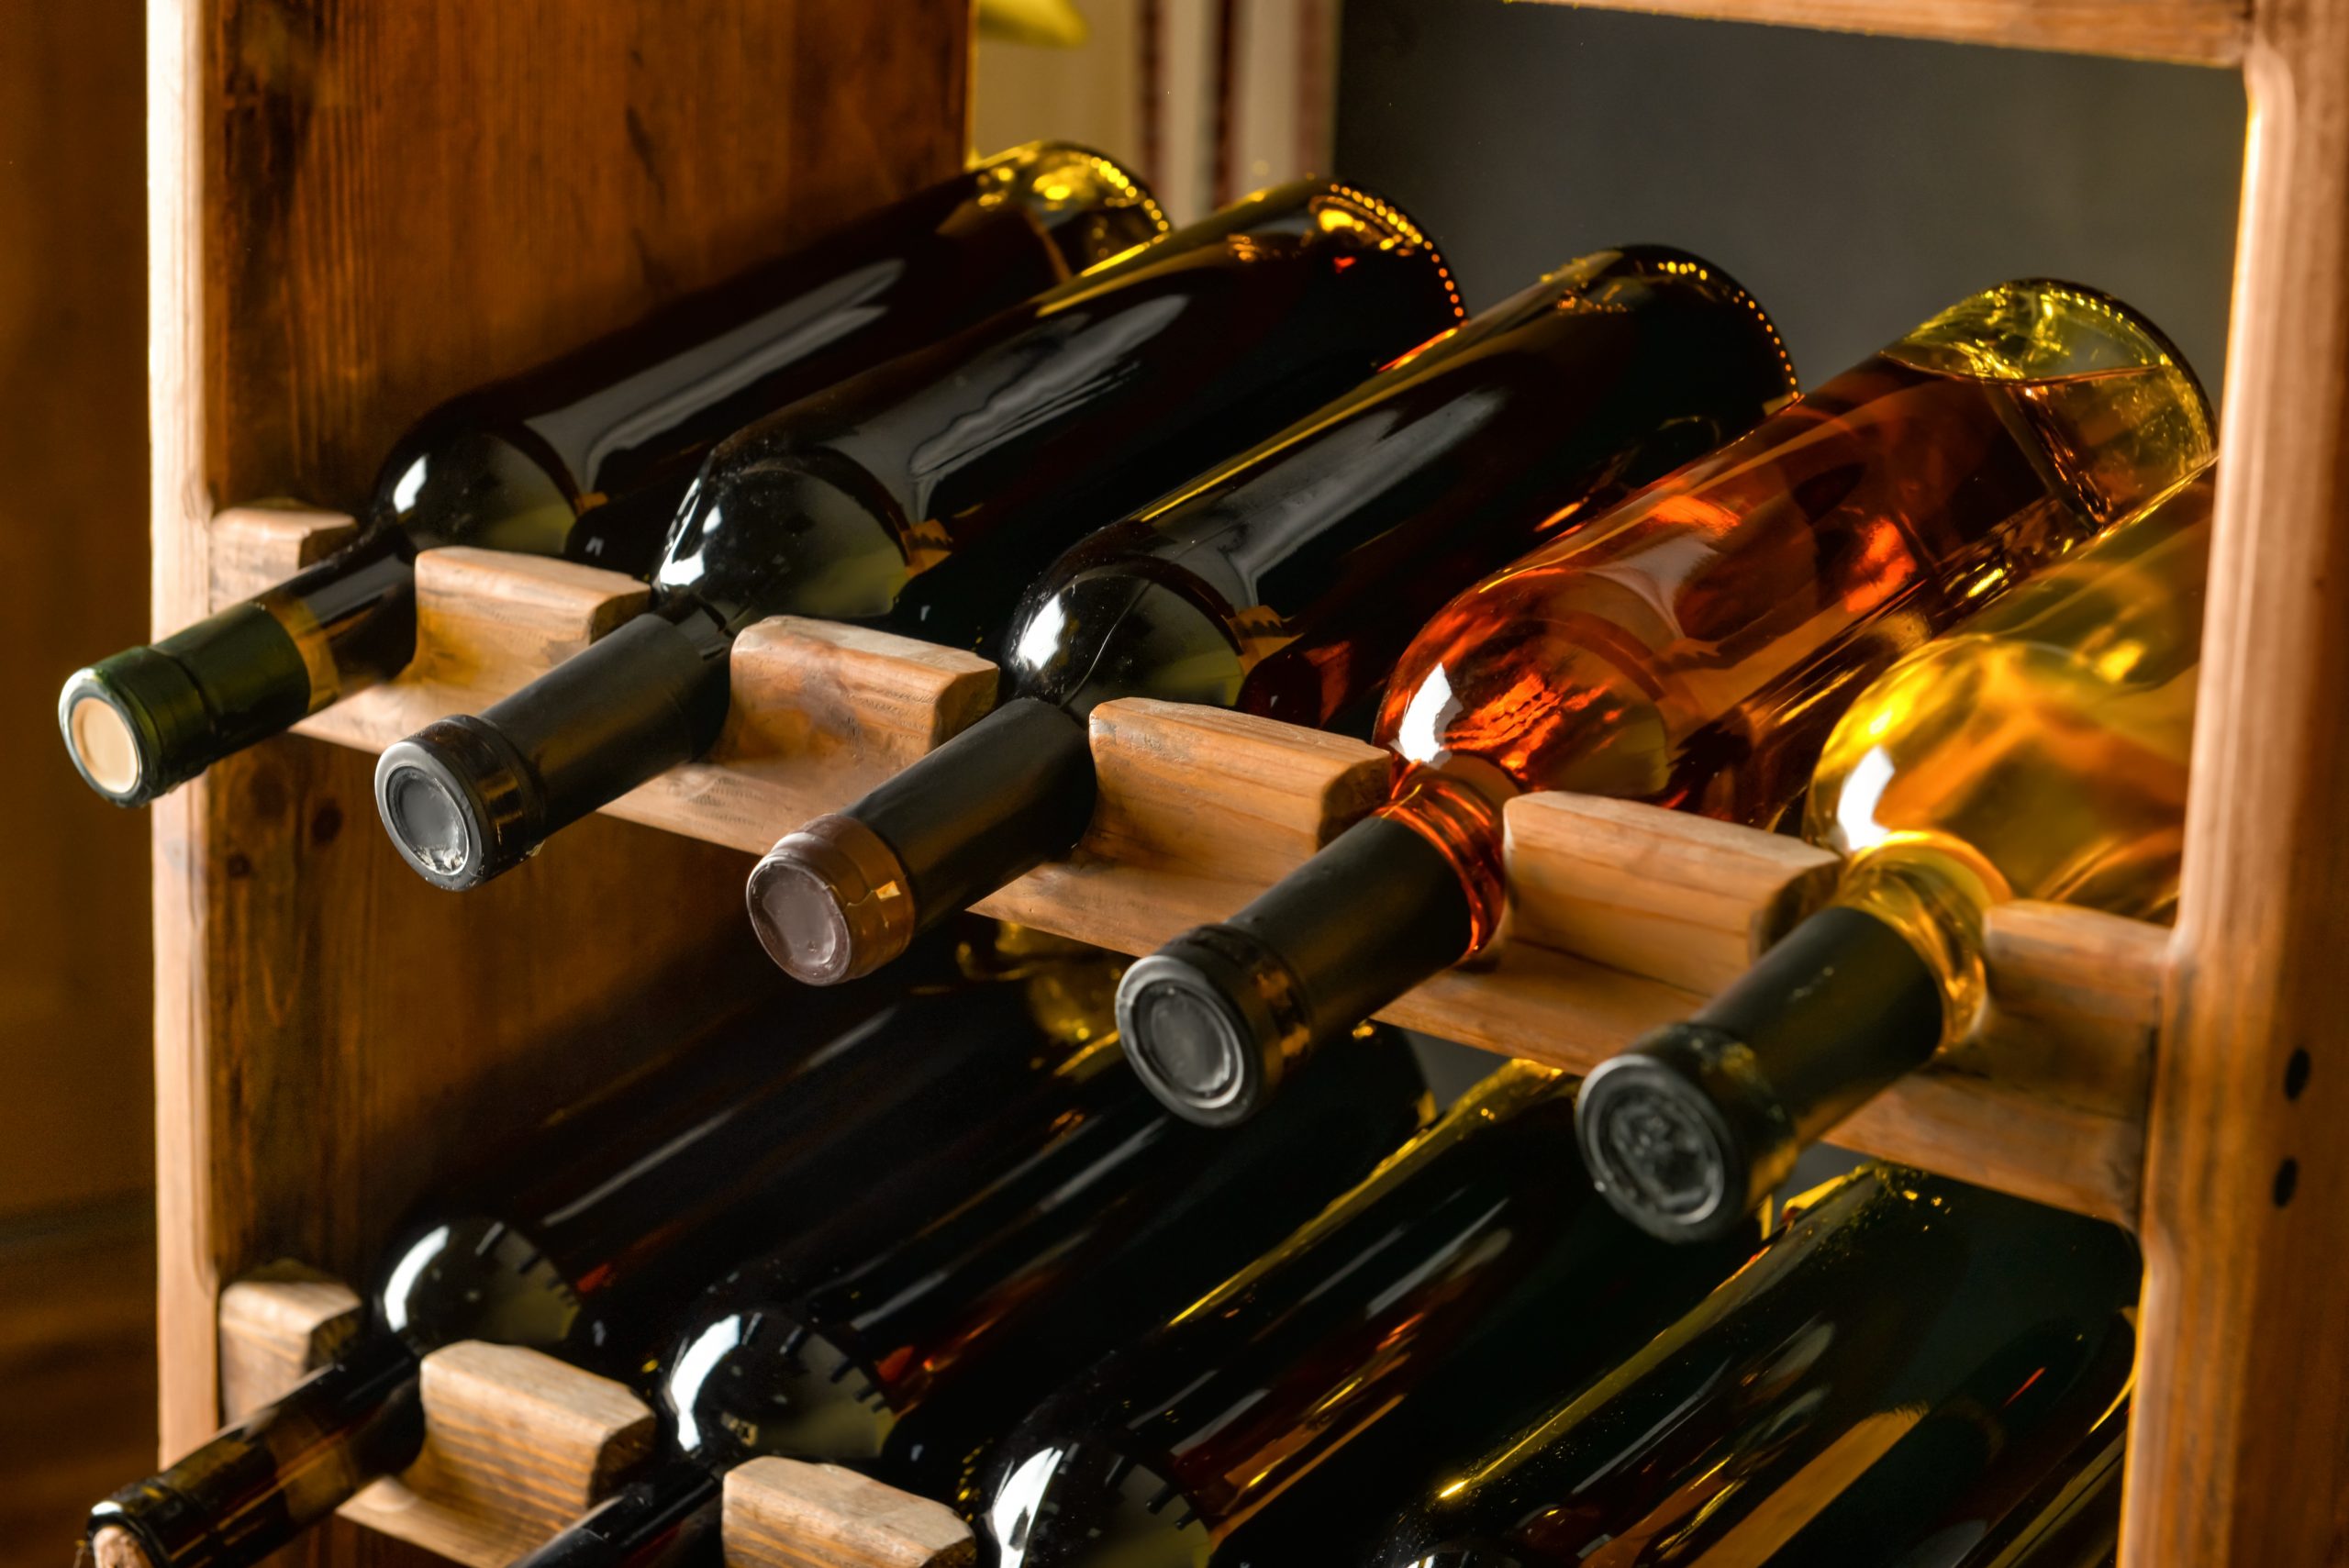
3. Choosing A Wine Rack
Now for the fun part – selecting your wine storage units! The rack serves a functional purpose and contributes to the space’s overall aesthetic. Winecellarhq.com advises that freestanding wine racks give you more flexibility in how you layout your wine cellar. Some popular options include modular cube systems, stackable racks, and display racks that showcase your bottles at various angles.
You may also consider the rack material. Wooden racks are classic choices that add warmth and character to the cellar. On the other hand, metal racks offer a sleek and modern look.
When selecting a wine rack, think about the accessibility of your bottles. If you plan on storing a mix of everyday wines and special vintages, having different types of racks with varying bottle orientations can add visual interest and make it easier to locate specific bottles.
4. Installing Cooling System
Maintaining the ideal 55-60°F temperature is crucial for proper wine storage and ageing. If your cellar space naturally stays in this range, fantastic! If not, installing a cooling unit is essential. Compressor-based or thermoelectric standalone systems can regulate smaller spaces under 1,000 cubic feet. For larger cellars, integrated heating, ventilation, and air conditioning (HVAC) systems or chilled ceiling panels work well.
System requirements vary greatly depending on cellar size, desired temperature, and environmental factors, so consult a qualified wine storage professional. Proper insulation, vapour barriers, and sealing air gaps are also vital. This upfront investment will pay delicious dividends, allowing you to perfectly preserve your collection for years to come.
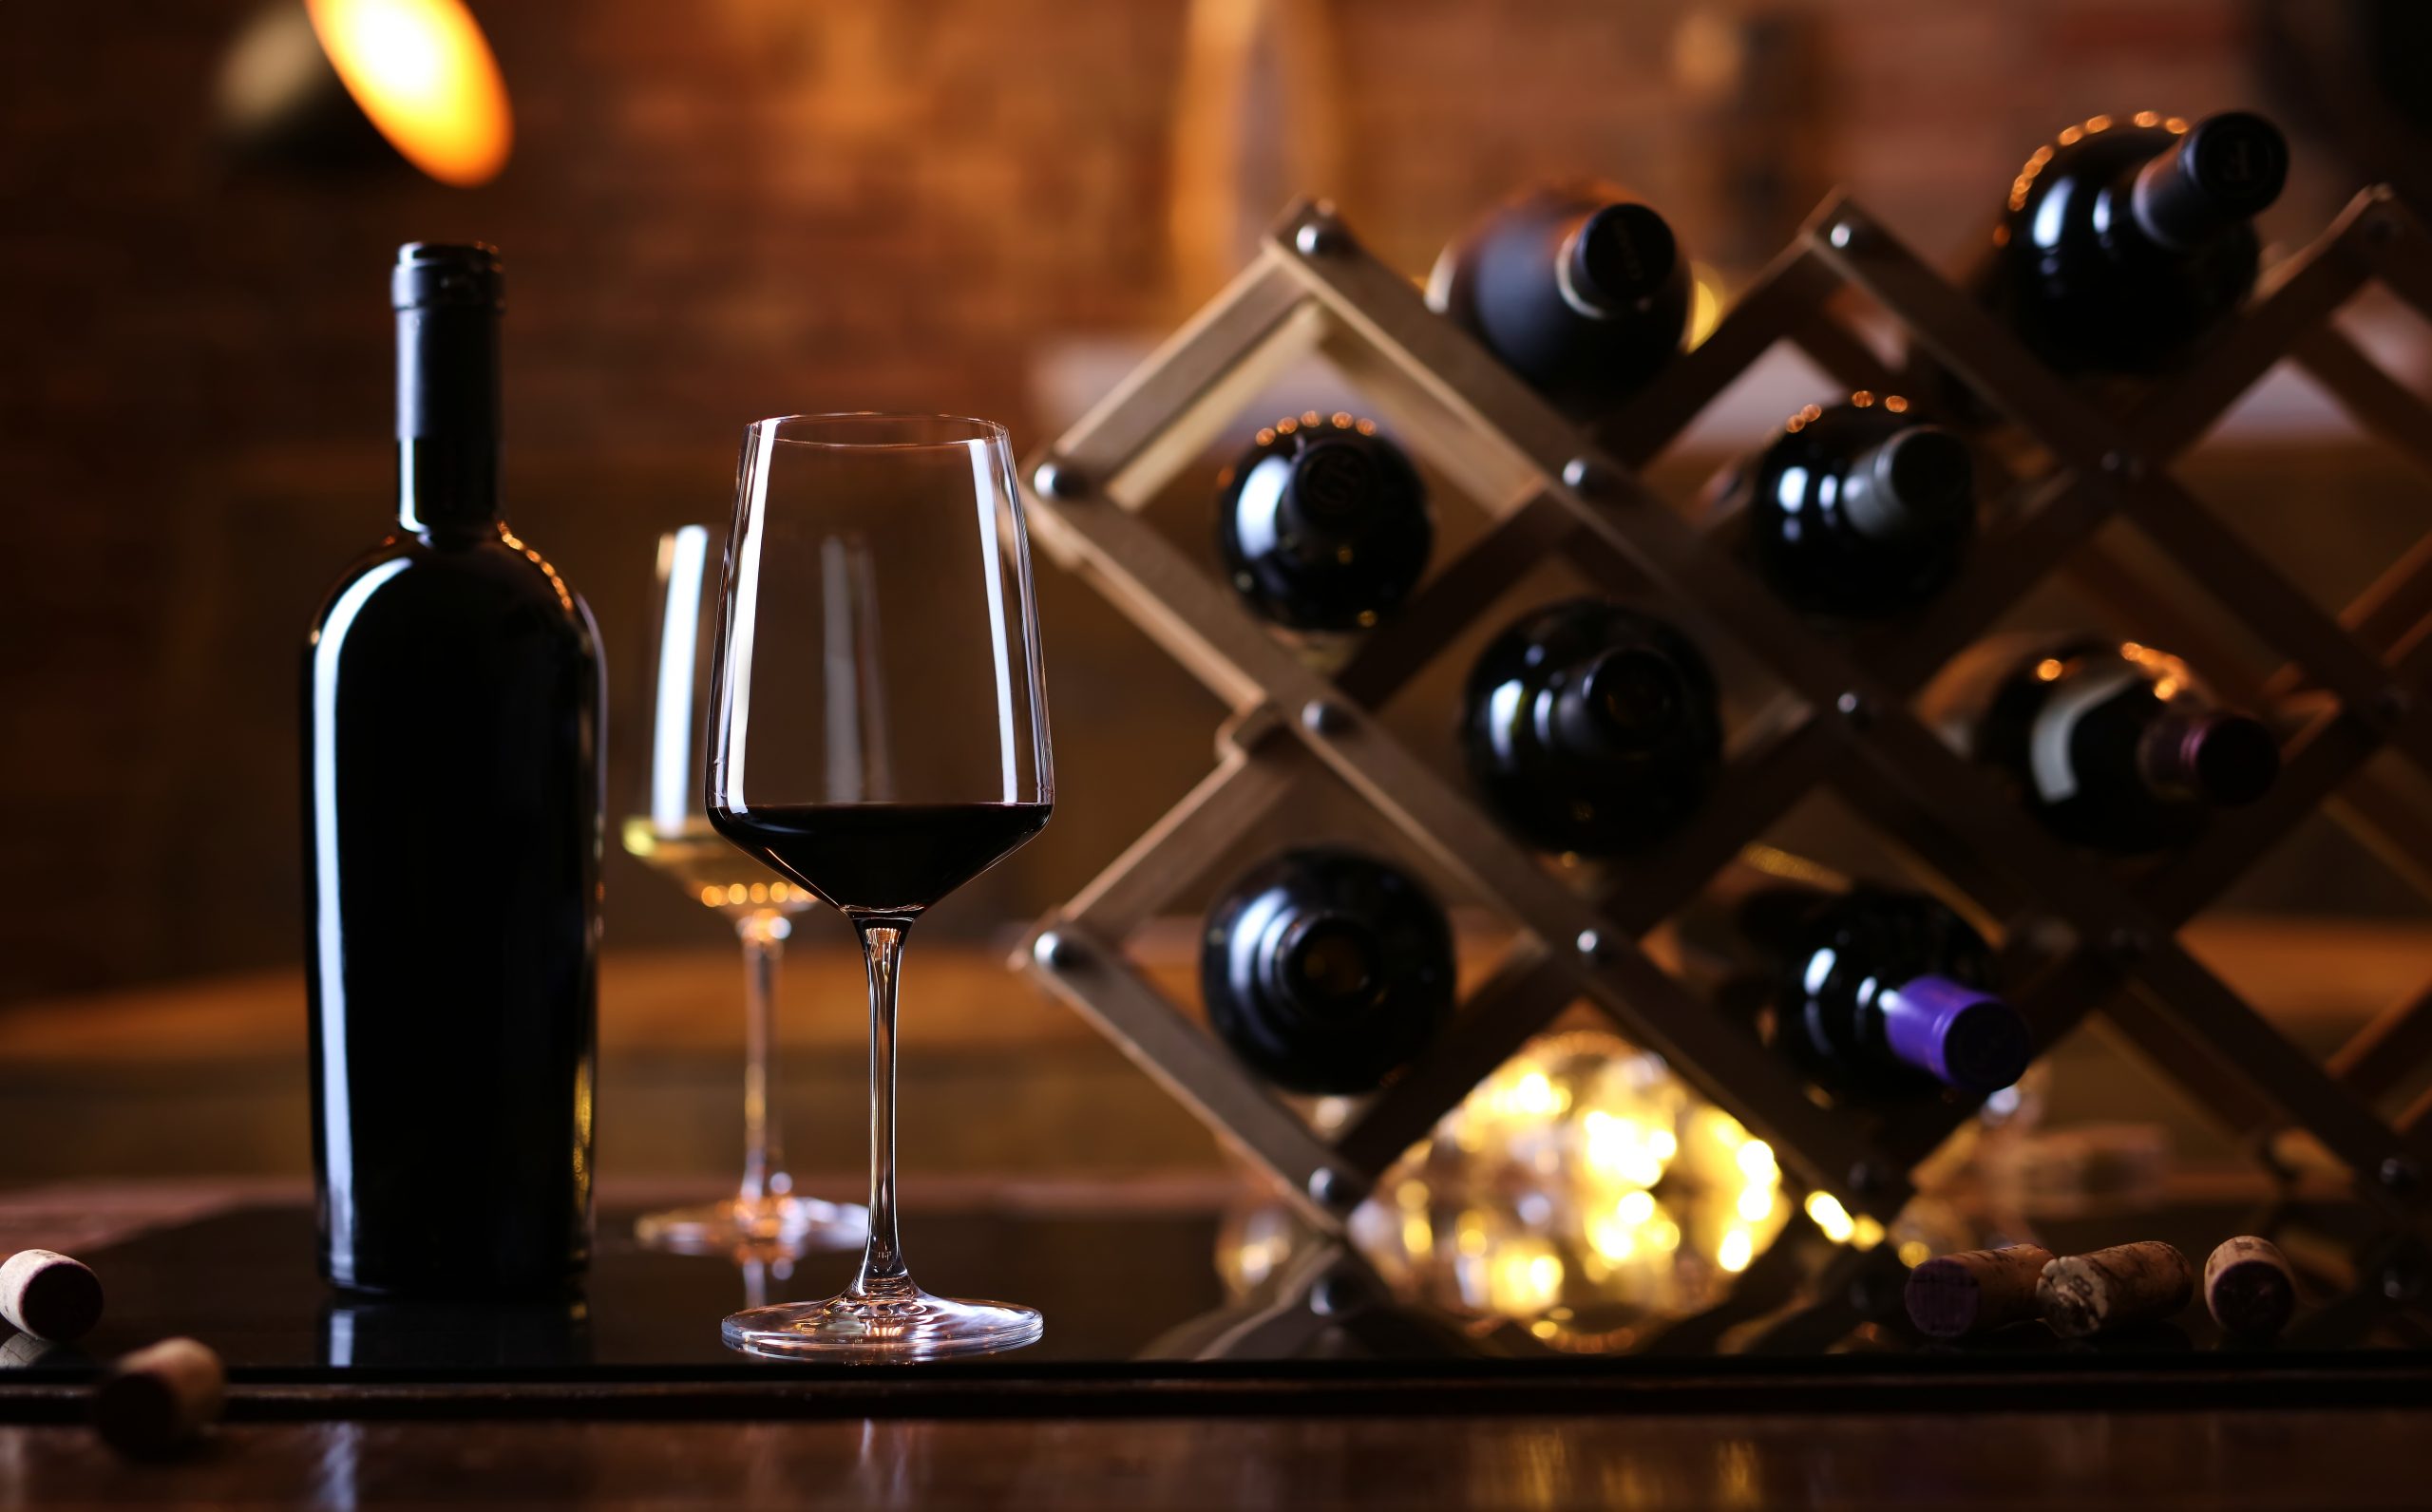
5. Adding Lighting Fixtures
Lighting fixtures allow you to admire your collection, while low wattage protects delicate wines. The two main options are overhead can lighting or LED strip lights integrated into racking systems. Both provide focused beams on labels and bottles without emitting excessive heat. If wiring new can fixtures, place switches near the cellar entrance and install dimmers for adjustable ambience. Make sure there’s adequate electrical load for any cooling systems as well.
For a refined feel, install sconces, chandeliers and wall-mounted artwork showcasing your favourite labels. Remember to keep the overall lighting subtle.
6. Infusing Special Touches
With structural and storage elements in place, let’s now personalize the space! Consider adding cosy seating, custom millwork, wine art, chalkboard walls for logging new acquisitions, a tasting table, glassware, and a wine fridge for sampling – let your inner wine connoisseur run wild!
Don’t forget the sensory experience – add ambient scents or candles to enhance the overall atmosphere. Music, if desired, can contribute to the mood, creating a complete sensory journey for you and your guests.
When it comes to the culinary aspect, include a designated space for food. A small table with cheese, charcuterie, and other wine-friendly snacks complements the tasting experience. The options are endless when it comes to showcasing your cider sanctuary style!
Takeaway
And there you have it – relish the rewards of your efforts! Open a special bottle to mark the occasion. Consider hosting a cellar christening gathering, inviting fellow wine enthusiasts to appreciate your newly created haven. Now, the real delight comes in curating this ever-evolving collection of liquid art. New bottles and vintages will come and go, but your cellar will always be a special space for preserving precious memories. Cheers to that!


